How to Photograph a Child's Drawing So It Looks Like the Real Thing
By the Scribblie team · Published · 9 min read
In this guide
- Why bother getting it right
- The setup: table, window, daylight
- Colour: making white paper look white
- Crop, but kindly
- Phone scan modes: a handy halfway
- Doing a whole pile at once
- Printing and sharing: what the photo needs
- Problem children: glitter, glossy, collage and giant sheets
- Name the file, and keep the original
- Two minutes, tonight
- Common questions
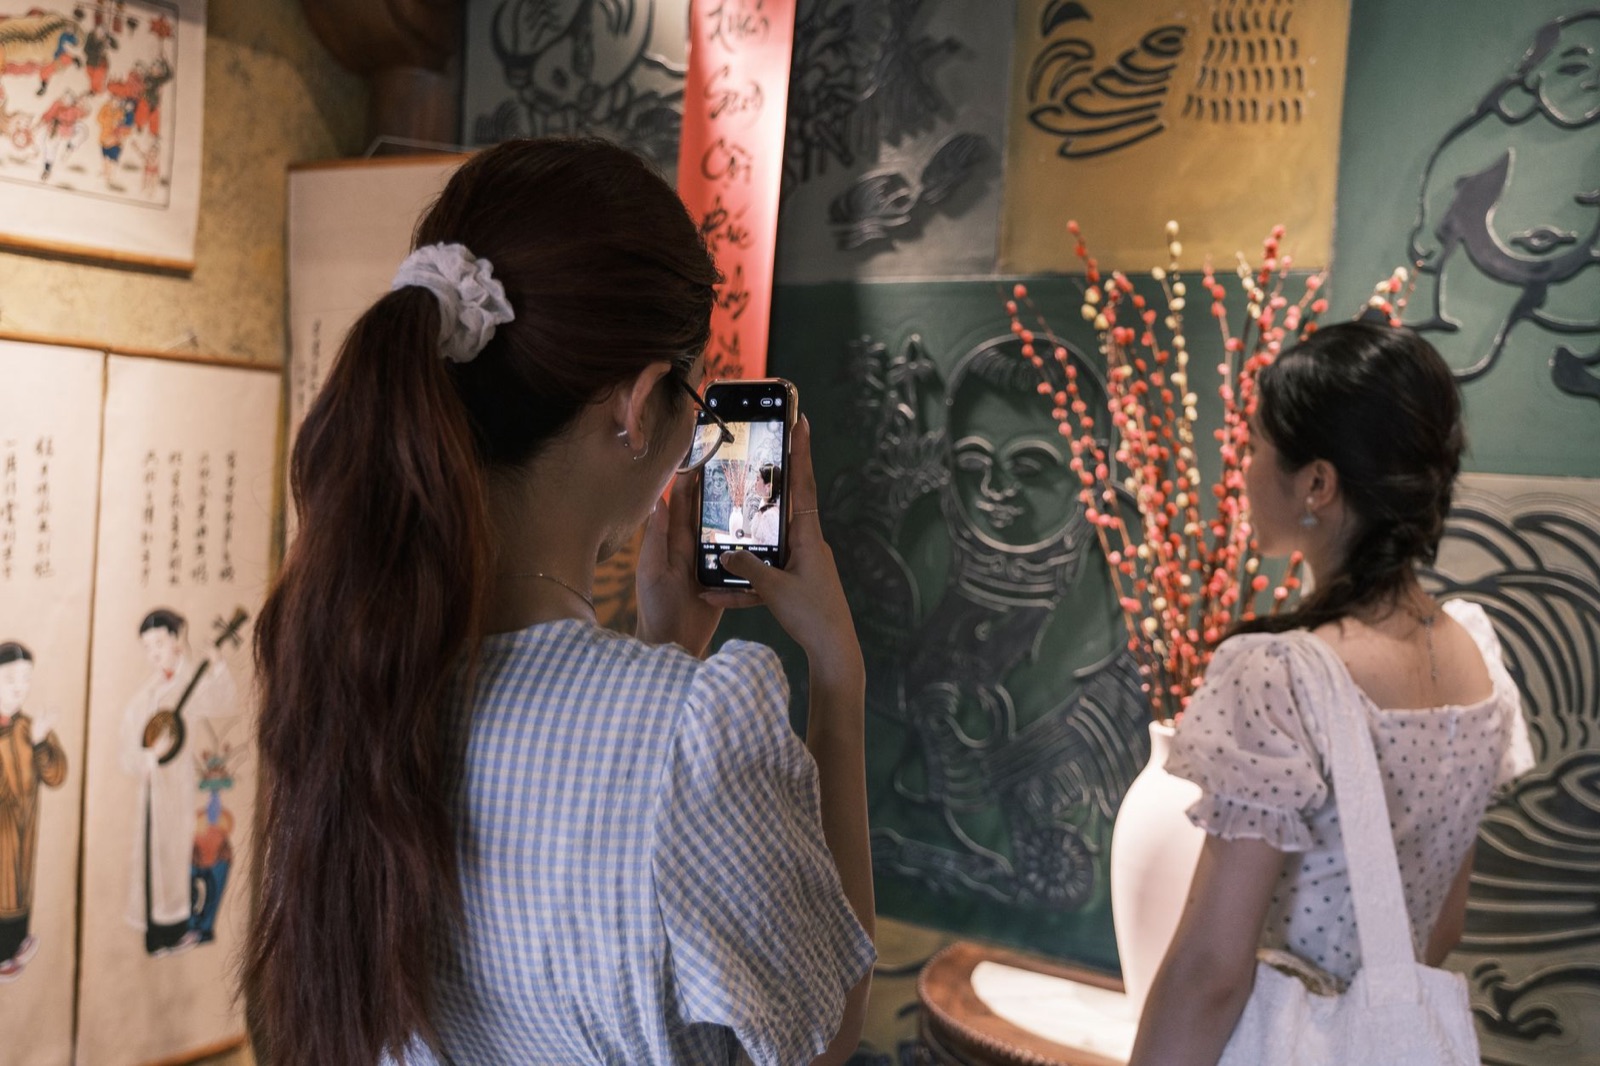
Take it by a window in daylight, with the paper flat on a table and your phone held directly above it, level with the page. That one setup, plus not letting your own shadow fall on the paper, fixes about nine photo problems out of ten. Most badly photographed drawings were taken from an angle, under a lamp, with a hand in the corner.
The rest of this guide covers the other tenth, which is glare, colour, curling paper, big sheets and bumpy collage. It also explains why a good photo is worth the two extra minutes, since you will want it for everything from printing a gift to storing the original safely.
Why bother getting it right
A photo of your child's drawing becomes the master copy. Once you have a clean one, you can print a gift from it (like these), put it in a photo book, make a puppet from a copy and keep the original safe (here is how), or let the paper go in a clear-out without a pang. Apps that animate a drawing also tend to work better from a clean, flat, evenly lit photo, which is a bonus.
A rushed photo gives you a slanted page, a grey cast and a thumb. You will not want to print that, and a year later, when the original is gone, you will wish you had spent the extra minute.
The setup: table, window, daylight
Pick a table near a window and use daylight when the sun is not shining straight in. A bright but cloudy day is ideal, because the light is soft and even. Direct sun gives hard shadows and blown-out highlights.
Lay the drawing flat on a plain, neutral surface. A sheet of white or grey card beneath it helps if your table is wood or patterned. If the paper curls, weigh the corners with something small and flat, such as coins, though keep them out of the frame or crop them later. A sheet of clear glass or an unframed clip frame, if you own one, flattens a stubbornly curled page, but watch for reflections.
Turn off lamps in the room if you can. Mixed light, with daylight from one side and a yellow bulb from the other, is the commonest source of a strange colour cast, because the camera cannot decide which colour is "white".
Shadows: yours, and the paper's
The shadow nobody sees until the photo is taken is the one of your own head and shoulders. If the window is behind you, you are blocking the light. Stand to the side so the light comes across the page from the left or right, and use your arm to check: if the shadow of your hand lands on the paper, move.
The paper itself can cast shadows too. A thick card or a collage with raised bits will shade itself from one side. For a flat drawing, light from a window to one side is gentle and does no harm. For a raised one, light from two sides softens it, which you can do by holding a sheet of white card on the other side to bounce light back, in the same way photographers use reflectors.
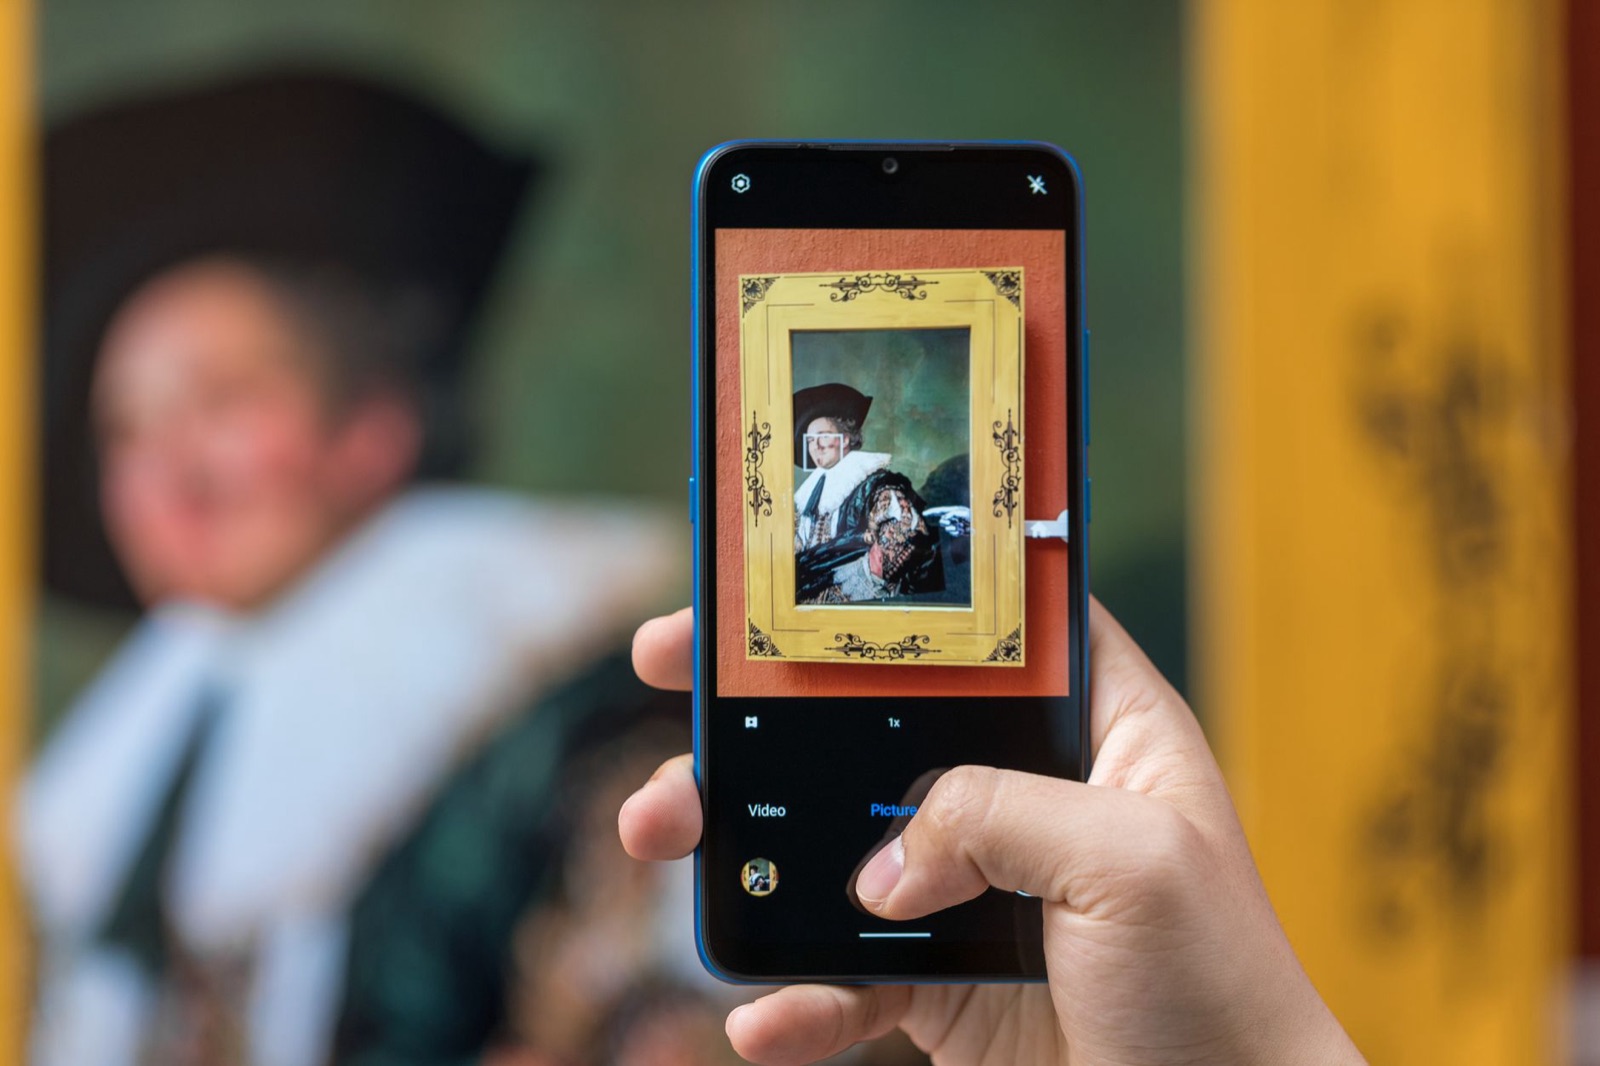
If your phone is casting a shadow, which happens when you hold it very close over a small drawing, back up a step and zoom in a little instead. Zoom by a small amount is better than the phone being close and blocking light.
Angle: straight down, not "straight enough"
A drawing photographed from slightly off to one side looks like a trapezium, with the far edge smaller than the near one. That distortion, sometimes called keystoning, makes a rectangular page look wonky and is hard to fix afterwards.
The cure is to hold the phone parallel to the paper. Many phone cameras show a level indicator, a small crosshair or line that turns yellow or lines up when the phone is flat. Switch on the grid lines in your camera settings, and use them to line up the edges of the paper with the grid.
If your arms get tired or shaky, rest your elbows on the table, or build a small rig from two stacks of books and a ruler laid across them, with the phone resting on the ruler, as in our stop-motion guide. The phone then sits steady and level over the page, and you can take as many photos as you like.
Colour: making white paper look white
Children's drawings often have strong colours, such as pink, lime green and orange markers, and phone cameras are tuned to make them look good rather than truthful. Sometimes the result is a blown-out neon that does not exist on the page.
Shoot in even light, and avoid any filter or "enhance" mode while taking the photo. Afterwards, compare the picture with the paper held next to the screen. If the paper looks grey or blue in the photo, raise the warmth or "temperature" slider slightly. If it looks cream or yellow, cool it down. Aim for white paper that looks white, and the colours usually fall into place.
A very faint pencil drawing tends to vanish in photos. Raise the contrast a little, or increase the exposure, which brightens the paper and makes the line stand out. Do not push it too far, or the grain of the paper will become a texture of its own.
Crop, but kindly
Fill the frame with the paper, but leave a thin border around it for the crop. After taking the shot, crop in to the edge of the paper, or slightly inside it if the edges are ragged. A tiny margin of the table can stay if you like the look of a drawing on a surface.
We would not crop out your child's signature or a date, and we would not crop out the torn edge of a page torn from a sketchbook, as it is part of the object. If a drawing continues off the edge, as children's work often does, photograph the whole sheet.
If you are keeping a series, shoot every drawing at the same distance when you can. Your photo archive will look more even, and the printed versions will match in size.
Phone scan modes: a handy halfway
Most phones include a document scanner hidden inside the notes app or the files or drive app. It spots the edges of the page, straightens it and crops it for you, and it often evens out the light. For ordinary paper drawings it is quick and tidy.
The trade-off is that scan modes sometimes treat the picture like text, boosting contrast so that soft pencil disappears and pale colours turn paler. Try the colour option rather than the black and white one, and compare the result with the real page. If the scan loses the character of the drawing, use the normal camera and a window.
For a household that has a flatbed scanner, it remains the evenest method for flat A4 paper. Use a resolution of around 300 dots per inch for prints, unless you plan to enlarge, and avoid compressing it too much. A scanner will not help with crumpled paper, collage or anything thick.
Doing a whole pile at once
If the backlog is a carrier bag of a term's worth of paper, do not photograph one drawing at a time with a full ritual. Set up the table and the window once, tape a sheet of white card down as the backdrop and work through the pile in a row. Put each drawing down, take one photo, lift it away and put the next one down. A pile of forty takes about as long as a TV episode.
Mark the spot with two pieces of masking tape so each drawing lands in the same place, and the shots will line up in size. Turn each drawing so its top is at the top of the frame. And keep a small "unsure" pile for the ones that look better in daylight at a different time of day, rather than stalling on them.
It helps to have your child as the assistant. Their job is to choose the next drawing, say what it is and hold the sheet flat while you press the button. They will tell you things about the drawing you would never have guessed, and you can type those words into the file names later.
Printing and sharing: what the photo needs
A modern phone photo is generally enough to print at around A4 size, if it is sharp and well lit. Larger than that, you are likely to see softness, and for a mug, a calendar or a poster, you should check the preview the printer gives you. Most print services warn you when a file is too small for the size you chose, so heed the warning rather than ignoring it.
For a print, leave a little extra space around the edges of the drawing. Printers trim, and a drawing that runs to the edge can lose a strip. If you crop tightly, you may find the signature chopped off in the finished item.
When you share a photo with relatives, send a copy rather than the master. A chat app compresses images, and a compressed copy is fine for admiring and bad for printing. Keep the full-size file at home, and if a grandparent wants to print one, send the original through email or a shared folder.
Problem children: glitter, glossy, collage and giant sheets
Glitter and metallic pens throw glare in strange places. Tilt the paper a few degrees, or move so the reflection falls outside the frame, and take several shots. Pick the one that looks most like the drawing under ordinary room light, not the one that sparkles most.
Glossy paper or a drawing under plastic produces a window reflection. Turn the paper until the window's reflection slides out, or hold a dark sheet of card over your shoulder to cut it.
For collage and 3D work, think of it as a small sculpture. Photograph it from straight on and again from a low angle, with side light, so the textures show. A photo cannot capture everything, and we would not throw away a collage just because you have a picture of it.
For big sheets, such as a poster-sized drawing on the floor, stand on a sturdy chair, if that is safe, to get above it, or photograph it in halves with a little overlap. The two halves can be joined later, though that is fiddly, and one shot from a distance may do for the archive. The simplest fix is to pin it on a wall and shoot straight on with the phone level.
Name the file, and keep the original
Rename the photo as soon as you have taken it. A year from now, "IMG_4832" means nothing. A date and a title, such as "2026-10 Snail with rocket", means a lot. A child's own title, spelled their way, is a lovely thing to keep in a file name.
Keep the untouched photo, and do any editing on a copy. If you ever need to start again, you will have the original. Store a second copy somewhere separate from your phone, whether that is a cloud folder you already use or a drive at home. We talk about the paper side of this in our guide to keeping and thinning artwork.
A child's drawing sometimes has their name, school or face on it. Before you upload a photo to any app or service, ask yourself if you are comfortable with it being stored. The same goes for any tool, ours included: check what it does with the photo before you use it, as we explain in what to look for in drawing apps.
Two minutes, tonight
Take the drawing that is currently on the fridge. Carry it to the window, lay it on the table, stand to one side and take three photos from straight above. Pick the sharpest, crop it, rename it with your child's title. Put the original back on the fridge, and let it hang there as long as it likes. You are covered either way.
Common questions
How do I take a good photo of my child's drawing?
Lay it flat near a window in daylight, stand so your own shadow is not on the paper, and hold the phone directly above it with the camera parallel to the page. Fill the frame with the paper, tap the screen to focus, and take two or three shots to pick the sharpest.
Should I scan or photograph children's artwork?
A flatbed scanner gives the most even result for flat paper, but a phone photo in good light is close enough for most families. Phone scan modes in notes or file apps are a handy middle route because they straighten and crop automatically.
Why do the colours look wrong in my photo?
Indoor lamps tint the paper yellow or blue, which fools the camera. Switch to daylight from a window, avoid mixing lamp and window light, and if colours still look off, nudge the warmth slider in your photo editor until the white paper looks white.
How do I avoid glare on a glossy or shiny drawing?
Move the paper or yourself until the reflection slides out of the frame, and light it from the side instead of straight on. Shiny areas such as glitter, gel pen or metallic marker will always catch light, so take a couple of angles and pick the best one.
What resolution do I need to print a child's drawing?
A modern phone photo is usually enough for a print around A4 size, as long as it is sharp and well lit. If you want to enlarge it to a poster or print it on something like a mug, shoot as close to a full frame as you can and keep the original file untouched.
Keep reading
How to Keep (and Thin Out) Your Child's Artwork Without Drowning in Paper
You cannot keep everything, and you should not try. A simple keeper rule, a photo archive, a rotating display and the right box will do.
9 min read
Turn a Drawing Into a Paper Puppet (and Put on a Show)
Backing, cutting, sticks and split pins: how to turn a child's drawing into a puppet that survives a show, plus a box theatre and a tiny first script.
9 min read
Turn a Child's Drawing Into a Gift Grandparents Will Keep
A child's drawing makes a gift nobody can buy. Here is what suits each format, how to prepare the file, and what to check before you order.
9 min read