Stop-Motion at the Kitchen Table, a First Project for Kids
By the Scribblie team · Published · 9 min read

In this guide
- Why a cut-out beats a toy for a first film
- Build the set: three things that matter more than gear
- Frames per second, in kid language
- The ten-second story
- Taking the photos without wrecking the set
- Choosing an app
- Sound, the cheap trick that makes it feel real
- When a flipbook might suit better
- What goes wrong, and what to do
- One tiny first step
- Common questions
Picture the scene. It is Saturday, drizzly, and your seven-year-old has drawn a snail with a spiral shell the size of a dinner plate. Cut it out, put it on a sheet of green paper, prop your phone above it on a pile of cookbooks, and take a photo. Slide the snail one thumb-width. Photo. Slide. Photo. Fifty photos later, you have a snail crossing a field, and your child is breathless.
That is stop-motion. This guide covers the setup that makes a first film work and the specific problems that make most first films fail, which are all fixable.
Why a cut-out beats a toy for a first film
Clay and toys are great, but they come with trouble. Clay changes shape under fingers, and toys fall over. A paper cut-out lies flat, stays put when nobody touches it and moves in only two directions, which makes it much easier for small hands to control. It is also the child's own drawing, which makes them care about each frame.
Pick a drawing with a clear outline and few thin parts. A round animal, a robot, a car and a fish are all good. A spider with eight skinny legs will lose limbs by the third shot, so save it for a puppet (see how) and make a sturdy character instead.
Glue the drawing to a piece of cereal-box card before cutting it out, so it does not curl or flutter when you breathe on it. Adult scissors are best handled by a grown-up for younger children; child-safe scissors work for thin card but fight with thick card.
Build the set: three things that matter more than gear
The set needs a background, a stable camera and steady light. Everything else is decoration.
For the background, a large sheet of coloured paper or a drawn scene taped flat works. Make it bigger than the camera frame, so you never see the edge of the table. Tape it down along one side so it does not creep.
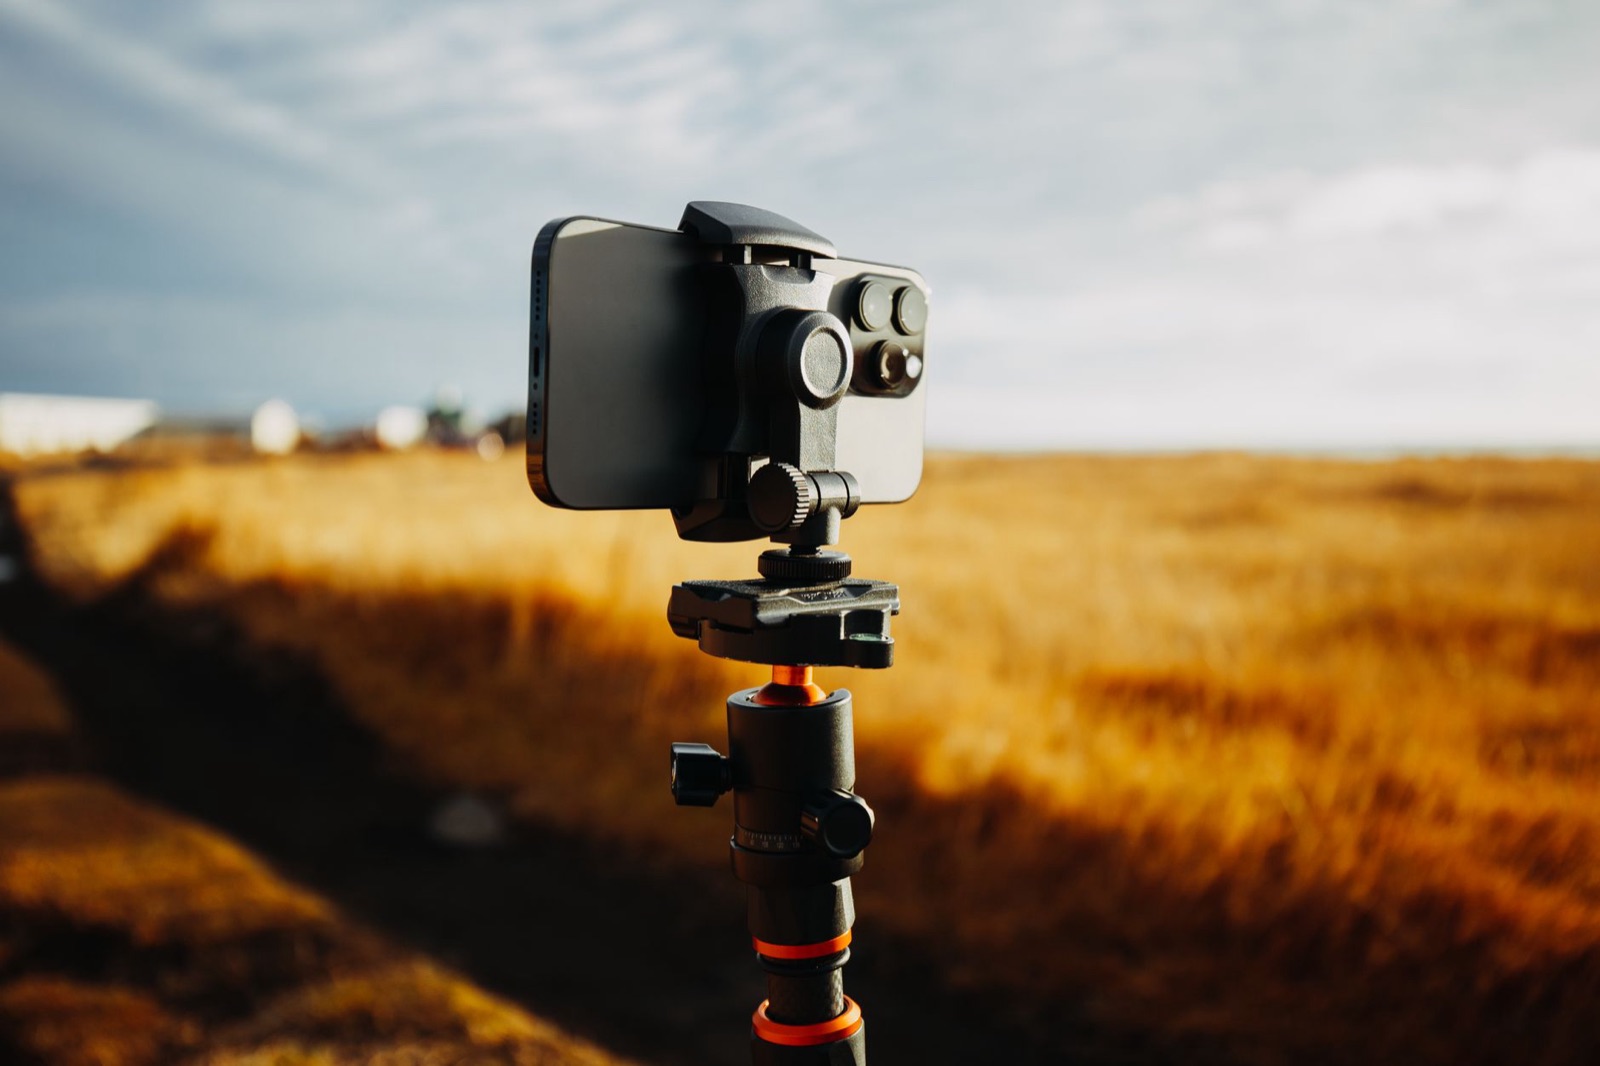
For the camera, you want the phone fixed and level. We cover the tripod options below, but the rule is that the phone must not move at all between shots. A good test is to take two photos with nothing changed and flick between them. If the picture shifts, it is not steady enough.
For the light, pick one source and leave it alone. We come back to this in a moment, because light is the single biggest reason first films look amateurish, and the fix costs nothing.
Tripods that cost nothing
You can buy a small phone tripod for not much, and a lot of families already have one. But the free versions work for a first film.
For a top-down shot, make a bridge. Stack books on either side of the table so there is a gap between them, and lay a ruler or a wooden spoon across the stacks. Rest the phone on the spoon with the camera lens over the gap, and weigh down the ends with more books. Slide the phone until the lens sits over the set.
For a side-on shot, lean the phone against a box of tissues, a mug or a pile of books, and stick a rolled ball of tape or a small wedge of card behind it to hold the angle. Keep the phone from tilting forward by using a rubber band or a lump of reusable adhesive on the base.
Do not hold the phone. Hands drift, and a film shot by a drifting hand wobbles like a boat. If your child is the one who wants to hold it, give them the job of pressing the button instead, and let the books do the holding.
Light: close the curtains, turn on one lamp
Daylight seems like the nice option, and it is a trap. Clouds pass, the sun moves, and your film flickers from bright to dull between shots because the light changed, not because your snail did.
Draw the curtains. Switch on a desk lamp or the room light and do not change anything for the rest of the shoot. If you can aim the lamp from the side, shadows add depth, but they can also grow long and wander, so keep the lamp where it is. Avoid sitting where your own shadow falls across the set, and have everyone stay roughly in the same spot.
If your phone camera lets you lock focus and exposure (many do, with a long press on the screen), do it once the set is ready. That stops the phone from deciding mid-film that the picture should be brighter, which causes a distracting pulse in the finished film.
Frames per second, in kid language
A film is a fast flick-through of photos. If you show twelve photos in a single second, the picture looks smooth. At eight it looks lively and a bit bumpy. At five or six it looks like a charming jerky old cartoon.
For a child, here is the rule of thumb: the more photos per second, the smoother the film and the more photos you must take. A ten-second film at ten photos per second needs about a hundred photos. At five photos per second, the same ten seconds need about fifty.
Our advice for a first film is to choose the low end. Fifty photos is a manageable afternoon, the bumpy look is part of the fun, and your child gets a finished film before the sun goes down. You can always go smoother next time.
Most stop-motion apps let you set the playback speed with a slider, so you do not need to decide in advance. Take the photos first, then play with the speed.
The ten-second story
A ten-second film needs a beginning, a middle and an end, and nothing more. Here is a plan that works with almost any cut-out.
For the first three seconds the character is not there, or sits still, because a tiny pause at the start helps viewers settle. Then it enters from the edge, one small step at a time. In the middle it does one thing, such as finding an apple, bumping into a rock or jumping over a puddle drawn in blue. In the last two seconds it leaves, or stops and shrugs, or the apple vanishes.
Plan this on a scrap of paper with three boxes, or have your child tell it to you out loud before you begin. A short story saves film as well as patience, because it stops the shoot from wandering for four hundred photos.
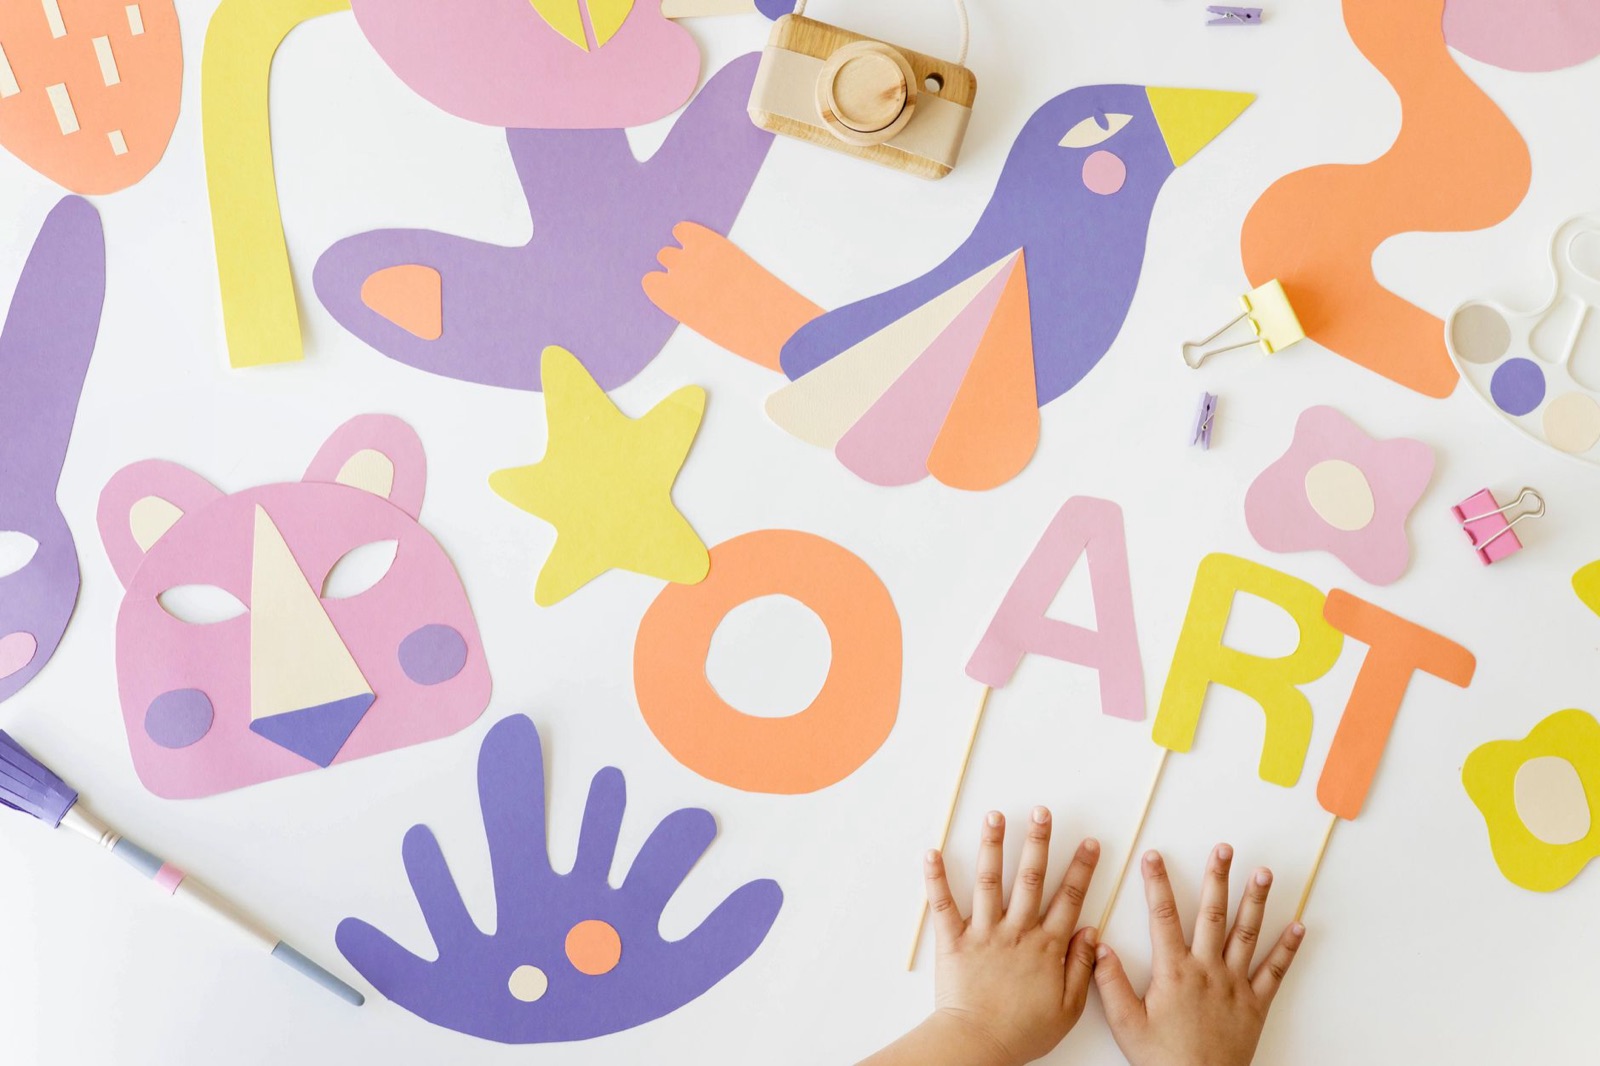
Then use the "thumb rule" for movement. Each nudge should be about as far as the width of a thumb or less. If the character moves farther, the motion looks like teleporting. If it barely moves, the motion looks like a slideshow of nothing. A good nudge feels almost too small.
Taking the photos without wrecking the set
This is where the fun turns into teamwork. One person moves the character, one person presses the button, and both stay out of the shot.
The moment the child moves the cut-out, they should take their hand right out of the frame, and then take the photo. We suggest a rhythm to say out loud: move, hands away, click. It sounds silly and it works, particularly with children who forget the middle step and leave a thumb in a dozen photos.
Press the shutter without touching the phone, if you can. Many apps support a timer, a volume button or a second device as a remote. Touching the screen bumps the phone a little each time, and fifty small bumps add up to a visible shake.
Check the film every ten shots or so by playing back what you have. Children love this step, it keeps them motivated, and it catches problems early. Little stray thumbs and creeping paper are far easier to fix at photo ten than at photo fifty.
Choosing an app
You can make stop-motion with nothing but your phone camera and a simple video editor, but a dedicated stop-motion app is easier because it shows the previous frame faintly over the live view, so you can judge how far you moved the character. That faint overlay is worth having.
The thing to check is what the app does with your family's content. Free apps can come with ads, upsell screens that children tap by accident, or permissions you did not expect. Read the settings before handing it to your child, and see our checklist for kids' drawing apps for the sort of questions to ask. If you would rather avoid the whole question, take photos with the normal camera and assemble them later yourself.
Sound, the cheap trick that makes it feel real
A silent ten-second film is fine. A film with a voice is better. Once the photos are done, play it on the phone and let your child narrate over it, in their own words, in whatever voice the snail would have. You can record it on a second phone or in the editing app if it has a voice option. Check first what the app does with recordings, since a child's voice is personal.
Sound effects can be done at the table. A tapped spoon for footsteps, a rustled sheet of paper for wind, a slow "slurp" for a snail. Children often enjoy this more than the shooting, and it is a good job for a younger sibling who has been waiting patiently. The sound does not have to line up exactly. A film that is slightly out of step with its noises has a hand-made charm.
If the film turns out well, a family video call is the usual showing. We would stay away from posting it anywhere public, for the same reason we would not post a school photo.
When a flipbook might suit better
Stop-motion is a big ask for some children, and that is fine. If yours drifts off after five photos, the same idea in a smaller package is a sticky-note flipbook, which needs no phone, no lamp and no set. And if you want to see all the routes side by side, our overview of animating a child's drawing lays them out.
A word on screens, since a phone is involved. Making a film is a different experience from watching one: your child is planning, moving things and thinking about what happens next. We cover that difference in our piece on creative and passive screen time. It still counts as time with a device, so keep an eye on the clock, but it is time spent making something.
What goes wrong, and what to do
The film shakes. The phone moved. Rebuild the rig so it cannot be knocked, and take the photos by a timer or remote.
The brightness pulses. The light changed or the phone re-exposed. Close the curtains, use one lamp and lock exposure.
The character jitters in place. The paper is lifting or sliding. Tape a tiny loop of masking tape under the cut-out, or use a spot of reusable adhesive, so it grips but still slides.
A shadow or hand appears. Slow down, and use the move-hands-click rhythm.
The child quit at photo twenty. That is a legitimate end. Play back the twenty photos and show them what they made. Almost always they want to add another five.
None of this is about perfection. We would rather your child finish a wobbly film than abandon a perfect plan. Put a bowl of snacks within reach, accept a messy table, and leave the set standing overnight so there is somewhere to come back to tomorrow.
One tiny first step
Tonight, before any film, take five photos of a coin or a leaf, moving it a thumb-width between each, and play them back at speed. It takes three minutes, nobody needs patience, and your child will see the trick working in front of them. Then they will start asking for the snail.
Common questions
How do you make a stop motion video with a child?
Fix a phone in place over a flat surface, put a paper cut-out or toy in the scene, and take a photo. Move it a tiny bit, take another, and repeat. Then play the photos back quickly in a stop-motion app or a simple video editor so they run like film.
What do you need for stop motion at home?
A phone or tablet, something to hold it steady such as a stack of books, a desk lamp, and a character to move. A cut-out from your child's drawing is ideal. A free stop-motion app helps, though you should look at its ads and permissions first.
How many pictures does a ten second stop motion need?
It depends on the speed you choose. At around ten photos per second you need roughly a hundred. At five per second, which still looks charmingly choppy, you need about fifty. For a first film, fifty is plenty.
What age can kids do stop motion?
Many children from about five or six can move the character while a grown-up presses the shutter. Handling the phone and the whole process alone often suits children somewhere around eight or nine, but it varies a lot.
How do I stop the stop motion from flickering?
Flicker usually comes from changing light or a moving phone. Close the curtains, use one lamp that stays put, lock the phone in place, and take photos with a timer or by tapping on a second device so nobody bumps the table.
Keep reading
How to Animate Your Child's Drawing (Four Ways, From Paper to App)
Flipbooks, cut-out puppets, stop-motion and apps can all make a drawing move. Here is what each really takes, and which one suits your child.
9 min read
How to Make a Flipbook With Kids (A Sticky-Note Version That Works)
A pad of sticky notes, one pen and about twenty minutes. Plus the mistakes that make flipbooks flicker, and how to avoid them.
8 min read
Turn a Drawing Into a Paper Puppet (and Put on a Show)
Backing, cutting, sticks and split pins: how to turn a child's drawing into a puppet that survives a show, plus a box theatre and a tiny first script.
9 min read