Turn a Drawing Into a Paper Puppet (and Put on a Show)
By the Scribblie team · Published · 9 min read
In this guide
- Copy first, then cut
- Backing: why cereal boxes are the best material
- The cutting, and the bits that fall off
- The stick puppet: five minutes, no fuss
- The jointed puppet: when you want an arm that waves
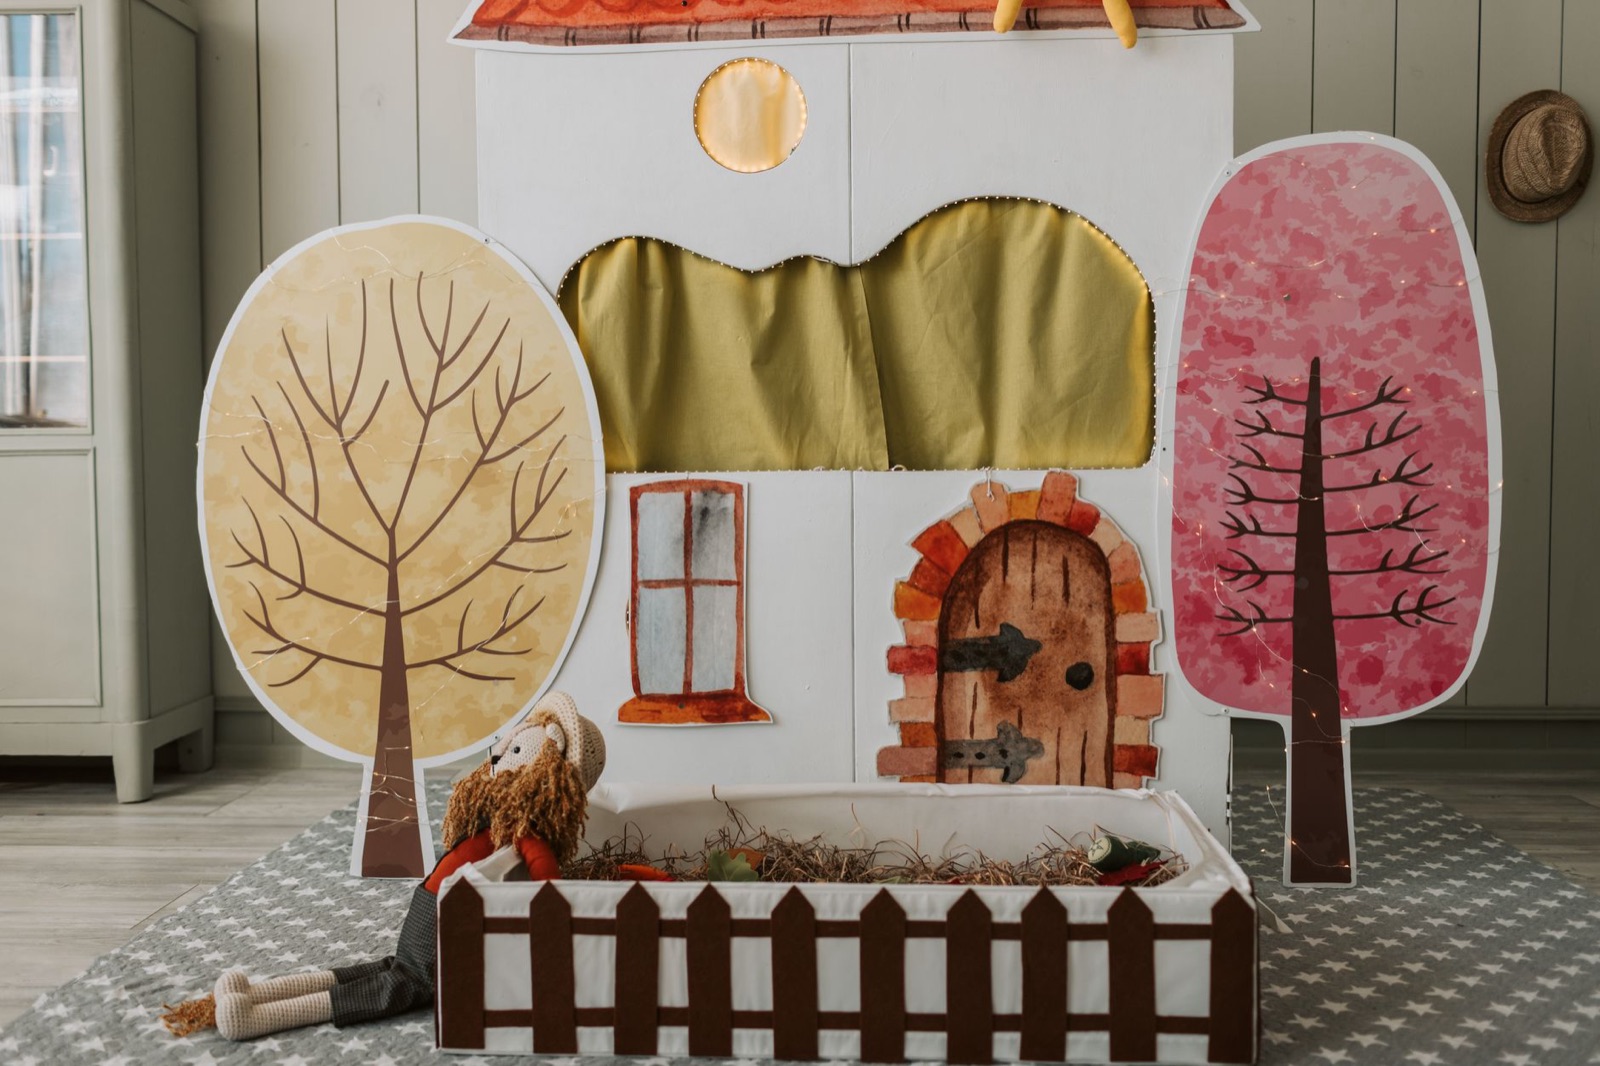
- A theatre from a box
- A first show: two characters, one problem, one minute
- Voices, names and the character's rules
- Extending the play after the show
- The things that break, and the fixes
- Keeping the puppets, and the original
- Common questions
Here is an opinion that may save you an afternoon: do not cut up the original drawing. Photograph it or copy it first, and make the puppet from the copy. The puppets that survive a show are made from sturdy copies, and the drawings that survive a childhood are the ones nobody cut.
If that is already sorted, the quick version is short. Glue the picture to card, cut around it, tape a lolly stick on the back and hold it up behind something. You now have a puppet. The rest is making it last, making it move and giving it somewhere to perform.
Copy first, then cut
Your child's drawing is the only one of its kind. A puppet is going to be bent, dropped and chewed by a younger sibling or a dog. Take a clear photo of the original (we have notes on photographing artwork) and print it at the size you want, or put it through a home printer or copier if you have one.
Colour prints on plain paper work well. If your child says no, they want the real one, you can cut the real one. It is their drawing, and children are often happier with a real cut-out than a neat copy. In that case, photograph it first and treat the puppet as a short, glorious life.
A child who has been told "this is only a copy" sometimes loses interest in the puppet. So say instead that you are making a puppet twin and keeping the original safe, which sounds like a promotion.
Backing: why cereal boxes are the best material
A drawing on ordinary paper flops. Glue it onto the inside of a cereal box, which is cardboard thin enough for scissors and stiff enough to hold up a character. The plain grey or brown side faces outward, and you can colour it in or paste the picture over it.
Use a glue stick on small drawings and white craft glue on big ones. Spread glue to the corners, not only the middle, because a lifted corner will curl by the second show. Put the finished piece under a heavy book for ten minutes so it dries flat.
If you want to laminate, wide clear tape does a rough version, but we would skip it unless your child asks. Tape can wrinkle and reflect the light, and the puppet will outlast its need.
The cutting, and the bits that fall off
This part tests patience. Children's drawings often have thin arms, tails and legs that do not survive scissors. The fix is to cut a little outside the line and leave a thin border of the background. A puppet with a small white margin looks fine and is much stronger.
Round off sharp corners, and widen any very thin part with a small flap of card glued behind it. A thin neck is the classic breakpoint. Widen it, or tape a stick right up behind it so the stick supports it.
Younger children can use child-safe scissors on thin paper, though thick card is hard on small hands. For ages up to about five, we would have a grown-up do the cutting while the child directs ("round the ears, mind the tail"). It is perfectly fine, and sometimes an advantage, since the child watches the shape emerge.
Craft knives, punches and any sharp tool belong to adults only.
The stick puppet: five minutes, no fuss
Take a lolly stick, a wooden skewer with the point cut off, or a straw. Tape it to the back of the puppet with two strips of tape across it, one near the top and one lower. Put the stick running up the middle of the back and let it hang below the character like a handle.
Short sticks keep the puppet nearby and let a small child control it. Longer sticks, like a chopstick or a garden cane trimmed with a grown-up's help, let the puppet rise above a theatre stage. If you use a skewer, ask a grown-up to snap the point off and cover the end with tape.
The test is whether the puppet stays upright when you walk it across a table. If it flops to one side, the stick is off-centre or the card is too soft. Add a second layer of card behind the puppet, and re-tape.
The jointed puppet: when you want an arm that waves
For a puppet with a swinging arm or a mouth that opens, cut the moving part as its own piece and join it to the body with a split pin, which is a small brass paper fastener. Have a grown-up make the hole with a pencil point or a hole punch, and push the pin through both layers. Open the legs of the pin flat behind the card, and the arm will swing.
Two rules make this work. First, the pin hole should be a little way inside the end of the arm, not at the very tip, or the arm tears out. Second, the pin should be loose enough that the arm moves and snug enough that it does not droop. If it is too stiff, wiggle the arm back and forth a few times.
To move the arm, tape a thin strip of card or a short stick to the back of the arm and let the child work it with their free hand. It is fiddly for small fingers. We would suggest only one moving part for a first puppet, and children over six or so can try two. Take care that a pin is never left loose, and keep brass fasteners away from any child who still mouths things.
If you are curious how this is the same idea that digital animators use, here is the plain-English version.
A theatre from a box
A puppet needs somewhere to appear. A big cardboard box turned on its side is the standard, and standard is right. Cut a rectangular window in the front, a little bigger than a laptop screen, leaving a border of two or three fingers' width. The grown-up does this with a craft knife, and the child decorates.
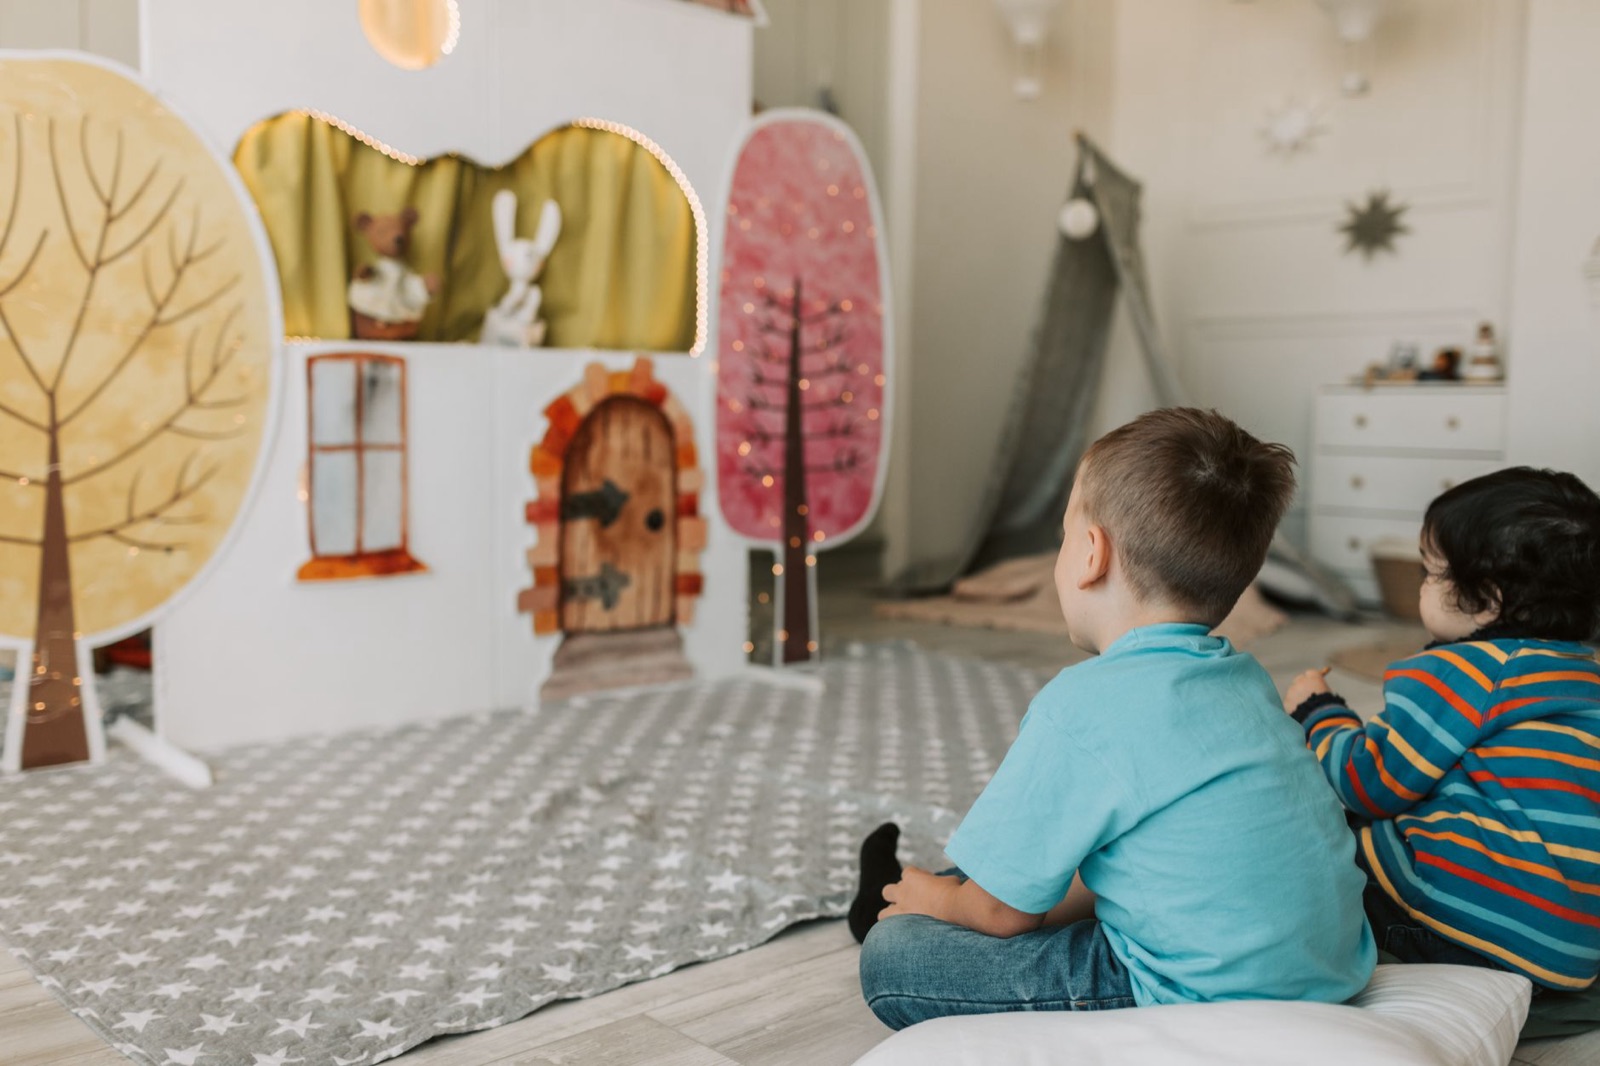
Hang a pillowcase, tea towel or sheet of paper across the window with tape, to be a curtain that opens in the middle. Lay a cloth across the back of the box, behind the stage, to hide the puppeteers' hands. Children can crouch behind the box and raise their puppets from below.
Another version uses no box at all. Drape a blanket over a table so the puppeteers hide underneath, and the puppets work above the table edge. This one is quicker, and takes up less space in a flat.
A torch aimed from behind the audience gives a theatre feel, and if you are bold, a lamp behind a white sheet turns puppets into shadows, which is a different kind of magic. Keep any lamp well away from paper, and do not leave it unattended.

A first show: two characters, one problem, one minute
You do not need a script. You need a situation. Our favourite for a first show is "two puppets, one object": a puppet finds a drawn cookie, and a second puppet wants it. They bargain, argue and make up. The audience of one grown-up will do.
A typical exchange might go like this. Puppet A creeps in and announces it has found a cookie. Puppet B pops up behind it and says, "Is that a cookie?" Puppet A says no. This goes on for a delightful while.
If your child is shy about performing, offer to be the second puppet while they run the first. A shy child often finds it easier to speak as a character than as themselves, and voices come out surprisingly loud from behind a box. If they want to stop, they stop.
You can also ask about the drawing's own story: what does it want, what is it scared of, what does it sound like? Our conversation guide has more questions of that sort, and they work well before a show.
Voices, names and the character's rules
A puppet is only a puppet until it speaks, and the first words tend to arrive with a surprise. Ask your child what the character is called before you ask anything else, because the name decides the voice. A creature called Mr Pickle will not sound like one called Zog. If you need ideas, our guide to naming characters covers how children choose names and what to do when they want to change them for the fourth time.
It helps to agree on one rule per puppet. Mr Pickle is afraid of buttons. Zog only speaks in whispers. One rule is enough to make a character feel particular, and children love inventing a rule and then watching you stumble over it. If you get the rule wrong, they will correct you with great seriousness, which is a good sign.
You can also go the other way and let the puppet teach. A puppet that does not know the word for a thing, and asks the child, gives them a rare chance to be the expert. Children often explain with impressive patience to a puppet when they would groan at the same question from a grown-up.
Extending the play after the show
A show lasts ten minutes and the puppets last a lot longer, so it is worth giving them a second life. Leave the box theatre up for a few days and see what happens. Often the puppets turn up at dinner, join a bedtime or take part in an argument about whose turn it is to choose the story.
Some families keep a puppet that tells bedtime stories. That is a gentle trick, and our guide to stories from a child's drawing has some starting points. You do not need to be funny or good at voices. You need to be willing to look slightly silly, and a child will fill in the rest.

The things that break, and the fixes
The stick keeps coming off. Use more tape, wrap it round the stick as well as over it, or glue a small card rectangle over the stick as a pocket.
The puppet leans forward. The stick is too low, or the head is heavy. Tape a coin behind the lower part as a counterweight.
A split-pin arm tears out. Reinforce the hole with a small circle of card glued on the back, or use a hole farther from the edge.
The puppet gets bent. Glue a second sheet of card behind, with the grain going the other way. Cereal boxes bend easily one way and not the other.
The theatre collapses. Tape the sides to the floor or to a table, and weigh the back down with books.
The child will not perform. Let the puppets do something else: a parade, a dance, a bedtime. Not every puppet needs lines.
Keeping the puppets, and the original
Puppets pile up in a hurry. A shoebox with the character's name on it does fine, and a clothes peg on a string works as a display line. For the original drawings, our guide to storing and thinning artwork covers what to keep.
So, tonight: pick one drawing, make a copy, glue it to a cereal box and tape on a stick. Hold it up behind the sofa and say hello in a voice nobody expects. If your child answers in a voice of their own, you have found the show.
Common questions
How do you make a puppet from a child's drawing?
Glue the drawing to thin card, cut it out, and tape a lolly stick or a straw to the back. That makes a working puppet in a few minutes. For a puppet with moving arms or legs, cut those parts separately and join them with split pins (brass paper fasteners).
What should I use to make paper puppets move?
Split pins make jointed limbs swing, and a second stick attached to a limb lets the child move it from below. A simple stick puppet needs nothing more than tape and a lolly stick or a straw.
How do you make a puppet theatre from a cardboard box?
Cut a large window in the front of a box, turn it on its side, and hang a cloth or sheet of paper as a curtain. The puppets enter from below or the sides, and a grown-up should do any cutting with a craft knife.
What age can kids make paper puppets?
Many children from about three can enjoy a stick puppet with a grown-up cutting and taping. Around six or seven, many can cut out and assemble a jointed puppet with some help, though it differs from child to child.
Will cutting out the drawing ruin it?
Yes, in the sense that the paper is changed forever. Take a clear photo of the original first, or make the puppet from a photocopy or print of it, so the drawing itself is kept safe.
Keep reading

How a Drawing Gets Animated, a Plain-English Explainer for Curious Parents and Kids
Still pictures that move are built from a few simple ideas: frames, key poses, joints and puppets. Here they are in everyday words, with a bit for kids to read aloud.
8 min read
How to Photograph a Child's Drawing So It Looks Like the Real Thing
Window light, a flat table and a straight-down phone beat any gadget. Here is the setup, the fixes for shadows and glare, and what to do with big or bumpy artwork.
9 min read
How to Keep (and Thin Out) Your Child's Artwork Without Drowning in Paper
You cannot keep everything, and you should not try. A simple keeper rule, a photo archive, a rotating display and the right box will do.
9 min read