Nature art projects for kids using leaves, stones and mud
By the Scribblie team · Published · 9 min read
In this guide
- Before you go: what to collect and what to leave
- Leaf rubbings: the one that nearly always works
- Stone faces and pebble characters
- Mud paint and the joy of getting properly dirty
- Stick frames and found-object collages
- A mini gallery on the windowsill
- Making a walk into a drawing
- Adapting the projects by age
- Next time you go out
- Common questions
The best nature art begins with a walk, and the walk is more than half the point. A child with a bag and a mission will notice the pavement in a way that a child being steered to the park will not. Bring something to carry things in, a rule or two about what you can pick up, and no particular plan.
Below are projects that need things from outside: leaves, stones, sticks, mud, feathers. They need very little from a shop, and we say which ones tend to fall apart, because a few do.
Before you go: what to collect and what to leave
A collecting bag turns a normal walk into an errand with a purpose. A paper bag or an old tote is fine. Give each child their own, and let them choose what goes in.
A few ground rules. Take only things that are already on the ground: fallen leaves, dropped sticks, pebbles, seed pods, pine cones. Leave living plants alone, and do not strip bark off trees or pull flowers. Check the local rules if you are somewhere protected, since many parks and reserves ask visitors not to take anything.
Safety comes before art. Do not let children eat or taste anything they find. Leave fungi and berries completely alone, because we cannot tell you which are safe and neither can a quick glance. Watch for sharp things, broken glass and litter, and wash hands thoroughly after collecting, before any snack. For very young children, small stones and seeds are choking hazards, so supervise closely or choose larger finds.
Keep the bag open to surprises. A feather, a snail shell, an oddly shaped stick: these are what end up inspiring the best projects.
Leaf rubbings: the one that nearly always works
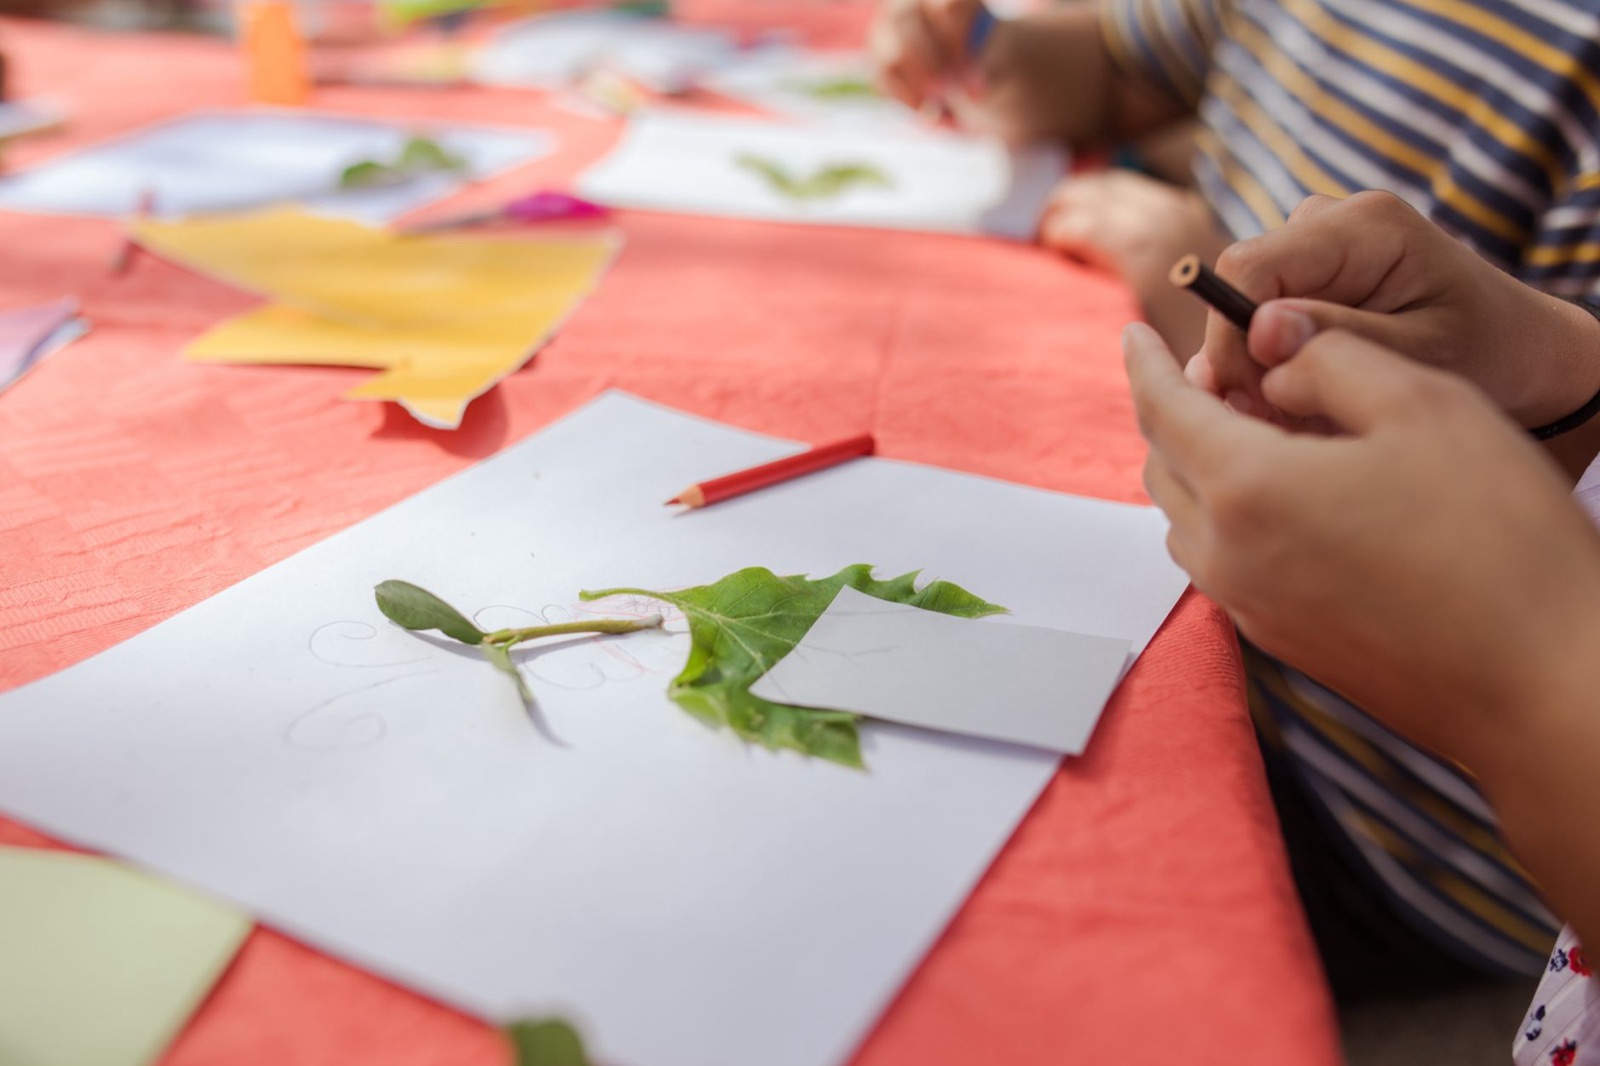
You need leaves, thin paper such as printer paper or tracing paper, and crayons with the paper peeled off. Place a leaf vein-side up on a table. Lay the paper over it. Hold the paper still with one hand, and rub gently with the side of a crayon, not the tip. The veins appear on the paper.
Why it works: the result looks impressive, the technique is easy to learn, and the surprise of watching the pattern come through is a genuine thrill for a four- or five-year-old. A fresh, firm leaf works better than a dry brittle one. Thick veins give the clearest image.
What goes wrong: the paper slides, the leaf crumples, and the crayon rubs through to the table. Tape the paper down at the top with a bit of masking tape, use sturdy leaves, and put the leaf on a hard surface. Younger children press too hard, so show them how the side of a crayon makes broader strokes than the tip.
Once the basics are in place, there is plenty to play with. Overlap several leaves in different colours to make a tree. Draw a body around a leaf rubbing to turn it into the wings of a butterfly. Cut out the rubbings, with supervision for younger children and blunt scissors, and glue them to a card for a collage.
A cousin of the rubbing is the leaf print. Brush washable poster paint thinly onto the underside of a leaf, press it face down onto paper, and lift it off by the stalk. The first print is usually a blotch. The third is often lovely. Print a branch of leaves in one colour and a second layer in another, and you get a small forest in a few minutes. Wipe up drips at once, put newspaper under the whole operation, and keep paint away from very small children who might taste it.
Stone faces and pebble characters
Stones are the easiest thing to collect and the most satisfying to finish. Look for smooth, flat ones that fit in a palm. Rinse them, dry them, and let your child choose one that "looks like someone".
Many children see a face in a stone right away. If they do not, start with a rule: this stone is a creature, and its job is to tell us what it likes. Paint on it with acrylic paint or poster paint, or draw with a permanent marker, bearing in mind that most paints are not meant for little mouths. Check the label for age guidance, keep a damp cloth to hand, and for children under about three, skip the paint and use stones that are too big to swallow.
If the stones will live outside, a coat of clear varnish applied by a grown-up keeps the colours from washing off in the first rain. Otherwise, let them fade. A stone that gradually loses its smile in the garden has something of a story to it.
Pebble families are an old favourite: five stones, five faces, one family. For a game, hide the stones around the garden and let the children find them. If you want a prompt, the monster game works on stones too, with extra eyes where it suits.
Mud paint and the joy of getting properly dirty
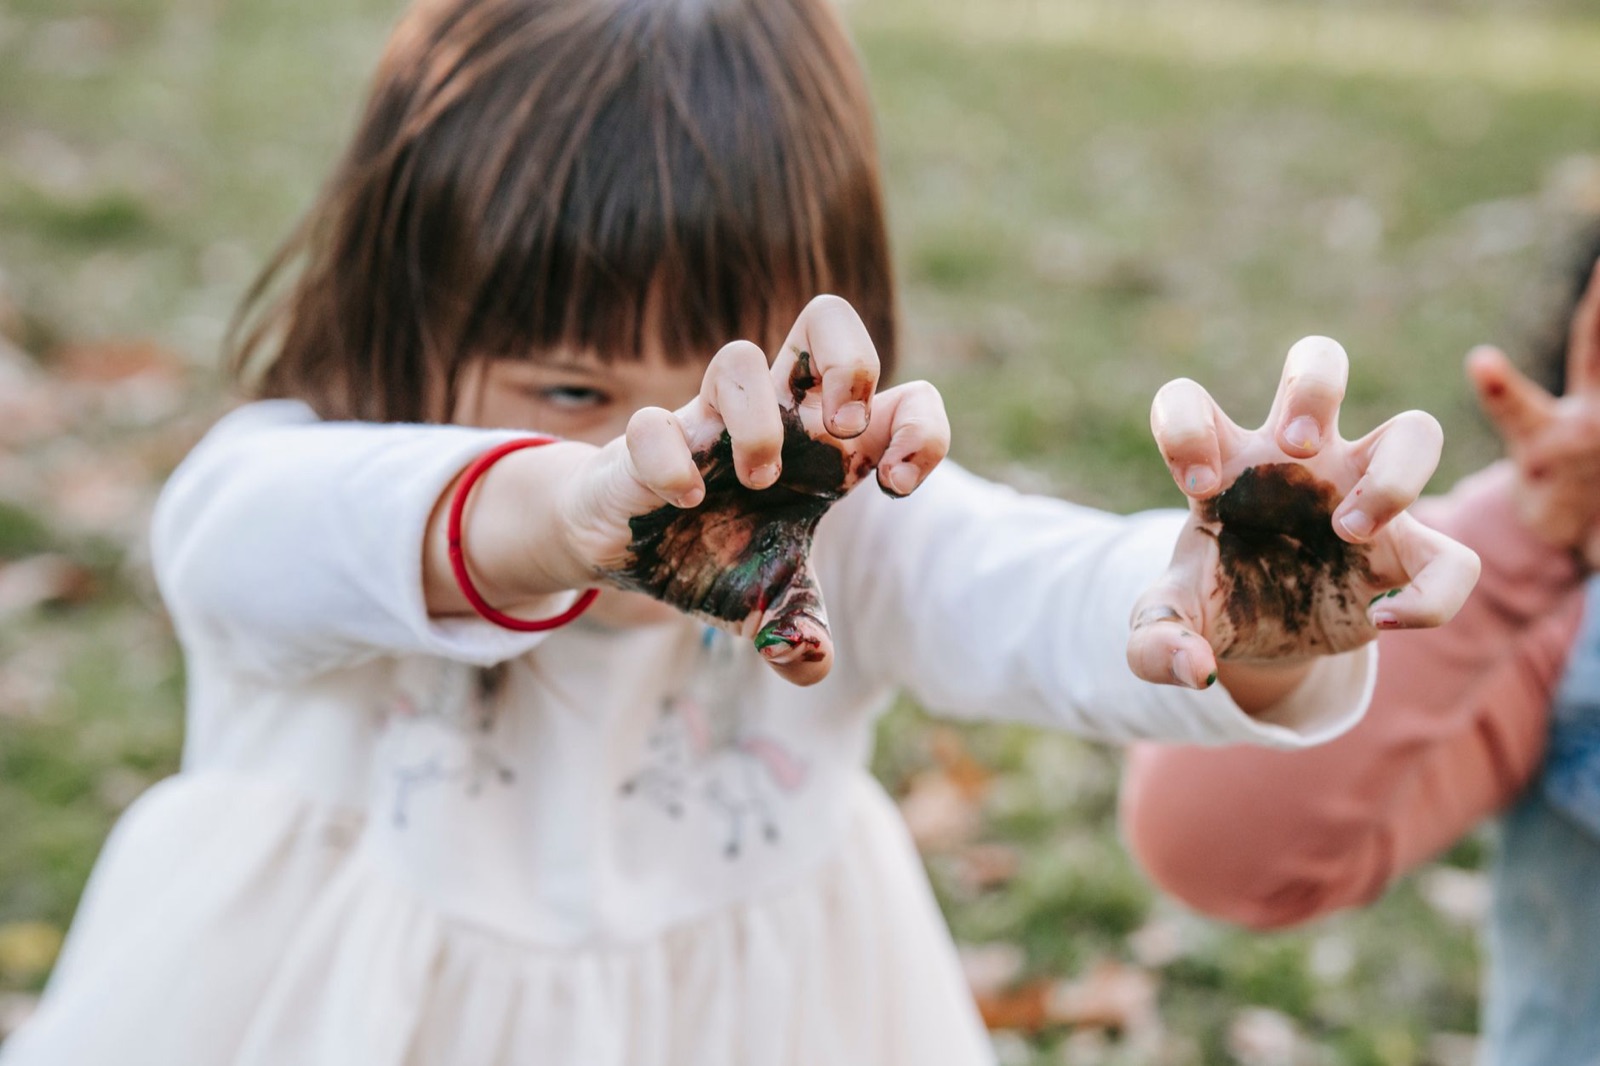
Mud is the most childlike material there is, and it paints better than you might think. Collect some soil from a clean patch of garden, away from roads, bins and places where animals toilet. Mix in a little water in a plastic tub until it is the texture of thick cream. Strain out stones with a sieve if you want a smoother paint.
Paint on large paper, cardboard, a flat stone, or a fence if the owner agrees. Use fingers, sticks, leaves or an old brush. Mud dries to a soft brown, and different soils give different colours, so if you can find a bit of red clay or dark peat, mix a palette.
Safety and tidiness: do this outside, in old clothes. Keep it away from faces and cuts, and wash hands well afterwards with soap. If your child has eczema or open skin, or if you are unsure about the ground, give it a miss. Mud can carry things you cannot see, and common sense is better than optimism.
What goes wrong: the mud cracks and flakes off when it dries, especially on smooth paper. Thicker paper and a little glue stirred into the mud help, and so does accepting that the picture is temporary. This is not an art project you will frame. It is one of the ones that is better in the doing than the keeping, and we think that is a good thing for children to learn.
Stick frames and found-object collages
Gather four sticks of roughly similar length, and tie or glue them into a square with string or strong tape. A grown-up should handle the cutting of anything sharp. That is a frame. Hang it from a branch, or put it on the ground, and fill it with whatever else you have found: a leaf, a pine cone, a feather, a bit of moss.
It works as a picture, and children often enjoy picking what goes in it. A frame also changes how they look at things. Something dull on the ground becomes interesting when it is surrounded by a border.
For a take-home version, make a frame from card, glue a sheet of sticky-backed plastic, sticky side out, in the centre, and press leaves and petals onto it. Hold it up to the window and the light comes through. If you have no sticky plastic, wide clear tape will do, though it is a bit fiddly.
A looser version is the ground collage, often called land art. Choose a patch of grass or pavement and arrange leaves, stones and sticks into a picture or pattern: a face, a spiral, a rainbow in leaf colours. Take a photo, and then leave it. This takes ten minutes, costs nothing, and children often love the idea that it is for the next person to find.
A mini gallery on the windowsill
Nature art tends to produce a lot of odds and ends. A windowsill or a shelf kept for finds turns them into a display. A saucer of stones, a jar of feathers, a branch with leaf rubbings pinned on it. Let your child decide the arrangement, and add small labels in their handwriting if they enjoy it.
Rotate the display every week or so. Things that are put away in a box tend not to be seen again, and things on a shelf start conversations. It is also a gentle way of saying that these finds are worth keeping, which many children are pleased to hear.
For flat work such as rubbings, our guides on photographing kids' drawings and keeping and storing kids' artwork cover how to make a record of something before it fades.
Making a walk into a drawing
If you do not want to build anything, nature walks make a good drawing session. Take a clipboard and a pencil. Stop in a place where the child wants to stop, and ask them to draw three things: something small, something big, and something they have never seen before. A snail shell, a tree trunk, an unfamiliar flower.
An observational prompt like this gives the walk a purpose. If you want more along these lines, see our drawing prompts by age, which includes looking exercises for older children.
One variation we like for a restless child is the colour hunt. Give them a strip of card with a blob of colour on it, drawn with crayon, and ask them to find something in nature that matches it as closely as possible. Hold the find next to the blob and judge together. Green is easy. Try brown, grey, or the pale yellow of old grass, and the hunt gets surprisingly absorbing. Afterwards, draw one of the finds in its true colour, and notice how hard it is to make the crayon agree.
On cold or wet days, drawings of the finds can happen at the kitchen table. Spread the collection on a tray and draw what is in it. This is also the point where we suggest putting away the sticks, because a toddler with a pointed twig is a hazard.
Adapting the projects by age
For toddlers, keep it to simple collecting and sensory play: a basket of leaves, a tray of dry soil with a plastic spoon, large stones for stacking. Close supervision matters most here.
For three to five, rubbings, ground collages, and mud finger painting are right. They enjoy the process far more than the result, and they like repeating.
For six to nine, add small tasks: sort your finds into groups, name them, make a map of where you found each one. Children of this age love a collection with a system.
For ten and up, give them materials and a challenge. Build a sculpture that stands up by itself, using only what is on the ground. Mix a small palette from soils of different colours, as above. Draw a detailed study of a single leaf with careful shading. These make older children feel they are doing something real, because they are.
Next time you go out
Tuck a paper bag and a roll of masking tape into your coat pocket, and let your child lead. If you pick up one leaf with a vein pattern you like, you have already started.
Try a rubbing on the way home, on a scrap of paper against the pavement. If it works, you will hear about it.
Common questions
What are some easy art projects for kids using leaves?
Leaf rubbings are the easiest: put a leaf under thin paper and rub with the side of a crayon. You can also press leaves into a drawing as stamps with washable paint, or arrange them into faces and animals on the ground. Choose firm, dry leaves with clear veins.
Is mud paint safe for kids?
Mud is generally fine for skin contact for most children, but we would use it outdoors, avoid soil near roads or where animals have been, and wash hands well afterwards. Keep it away from mouths and cuts. If your child has skin conditions or you are unsure about the ground, skip it.
What can kids collect for nature art?
Fallen leaves, small stones, sticks, feathers found on the ground, seed pods and pine cones. Avoid picking living plants or anything from protected places, and leave berries, fungi and anything you cannot identify alone. Wash hands after collecting.
How do I paint stones with kids?
Choose smooth, flat stones, wash and dry them, and use acrylic or poster paint, plus a coat of varnish if they will live outdoors. Small children should be supervised with paint and with stones that could go in a mouth. Keep very small pebbles away from toddlers.
What do I do with nature art once it's finished?
Photograph the temporary pieces and let the weather have them. Keep sturdy ones, such as painted stones, on a shelf or in the garden. Not everything needs to survive.
Can we do nature art in a city with no garden?
Yes. Pavement leaves, a handful of stones from a park, and sticks from a tree-lined street are all you need. A windowsill tray of finds works as a small gallery.
Keep reading
The draw-a-monster game: rules, variations and why kids love it
Three ways to play draw-a-monster, why children return to it again and again, and how to turn a scribble with eleven eyes into a story.
9 min read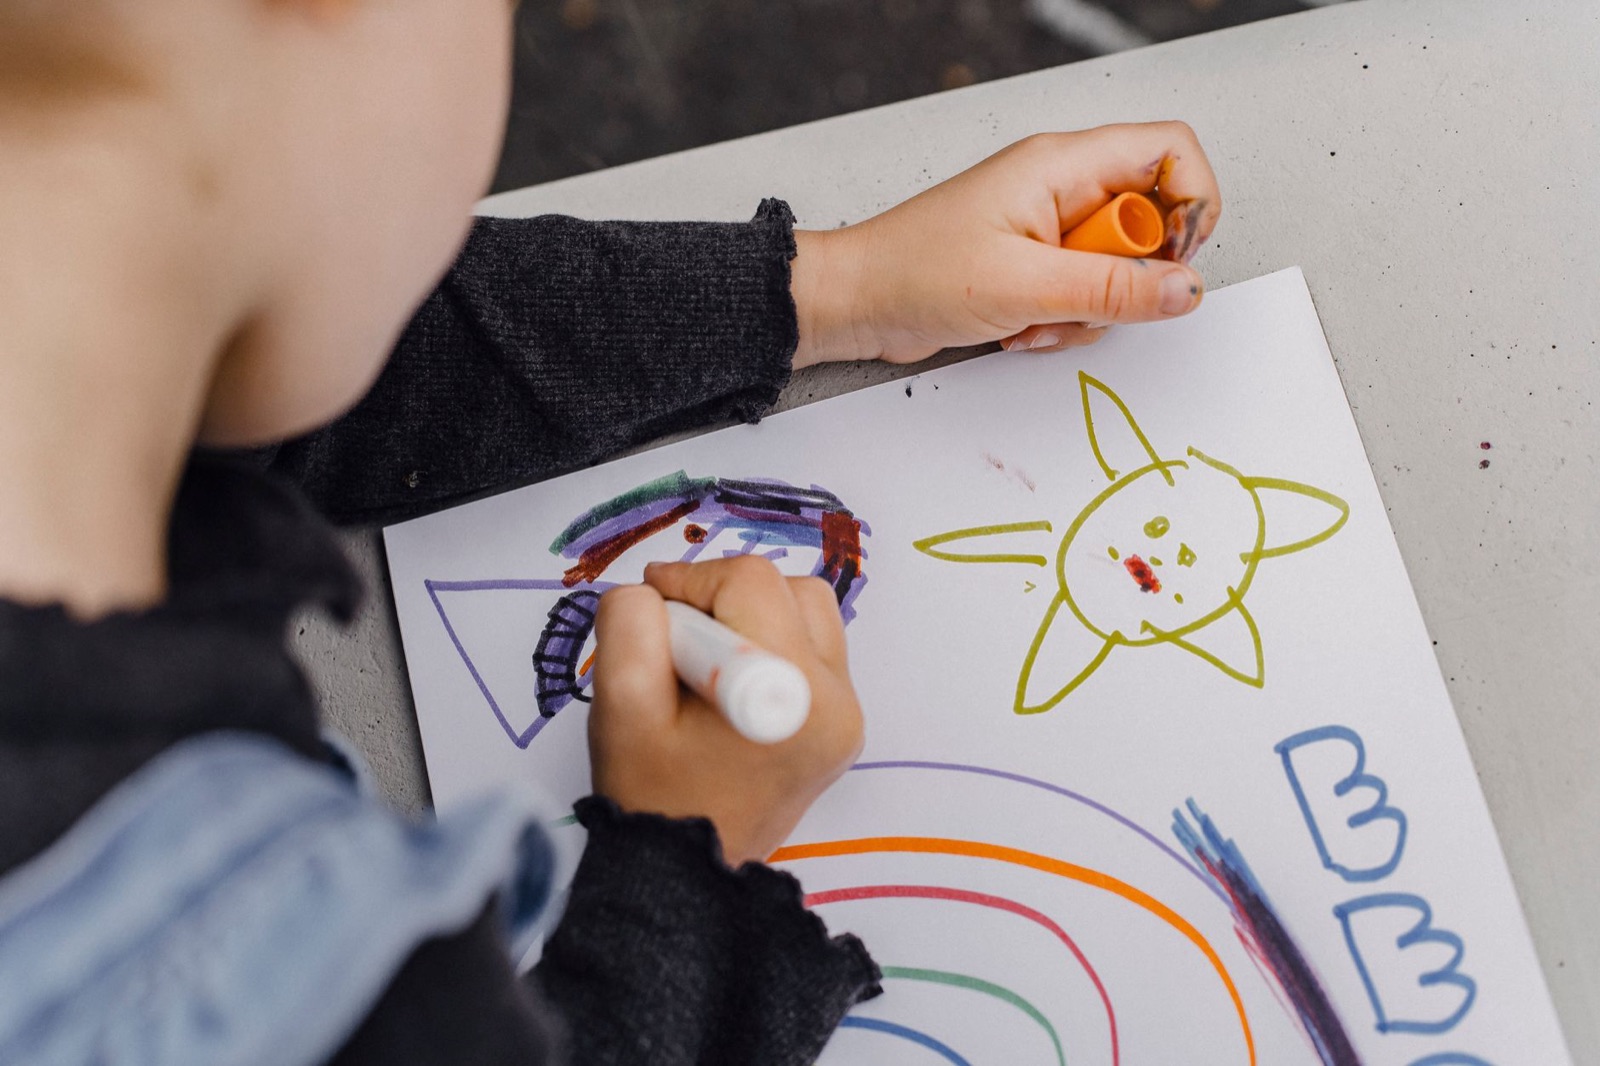
Drawing prompts for kids, sorted by age (3 to 12)
Sixty-odd drawing prompts sorted into four age bands, with the reasoning behind each so you can invent your own when these run out.
9 min read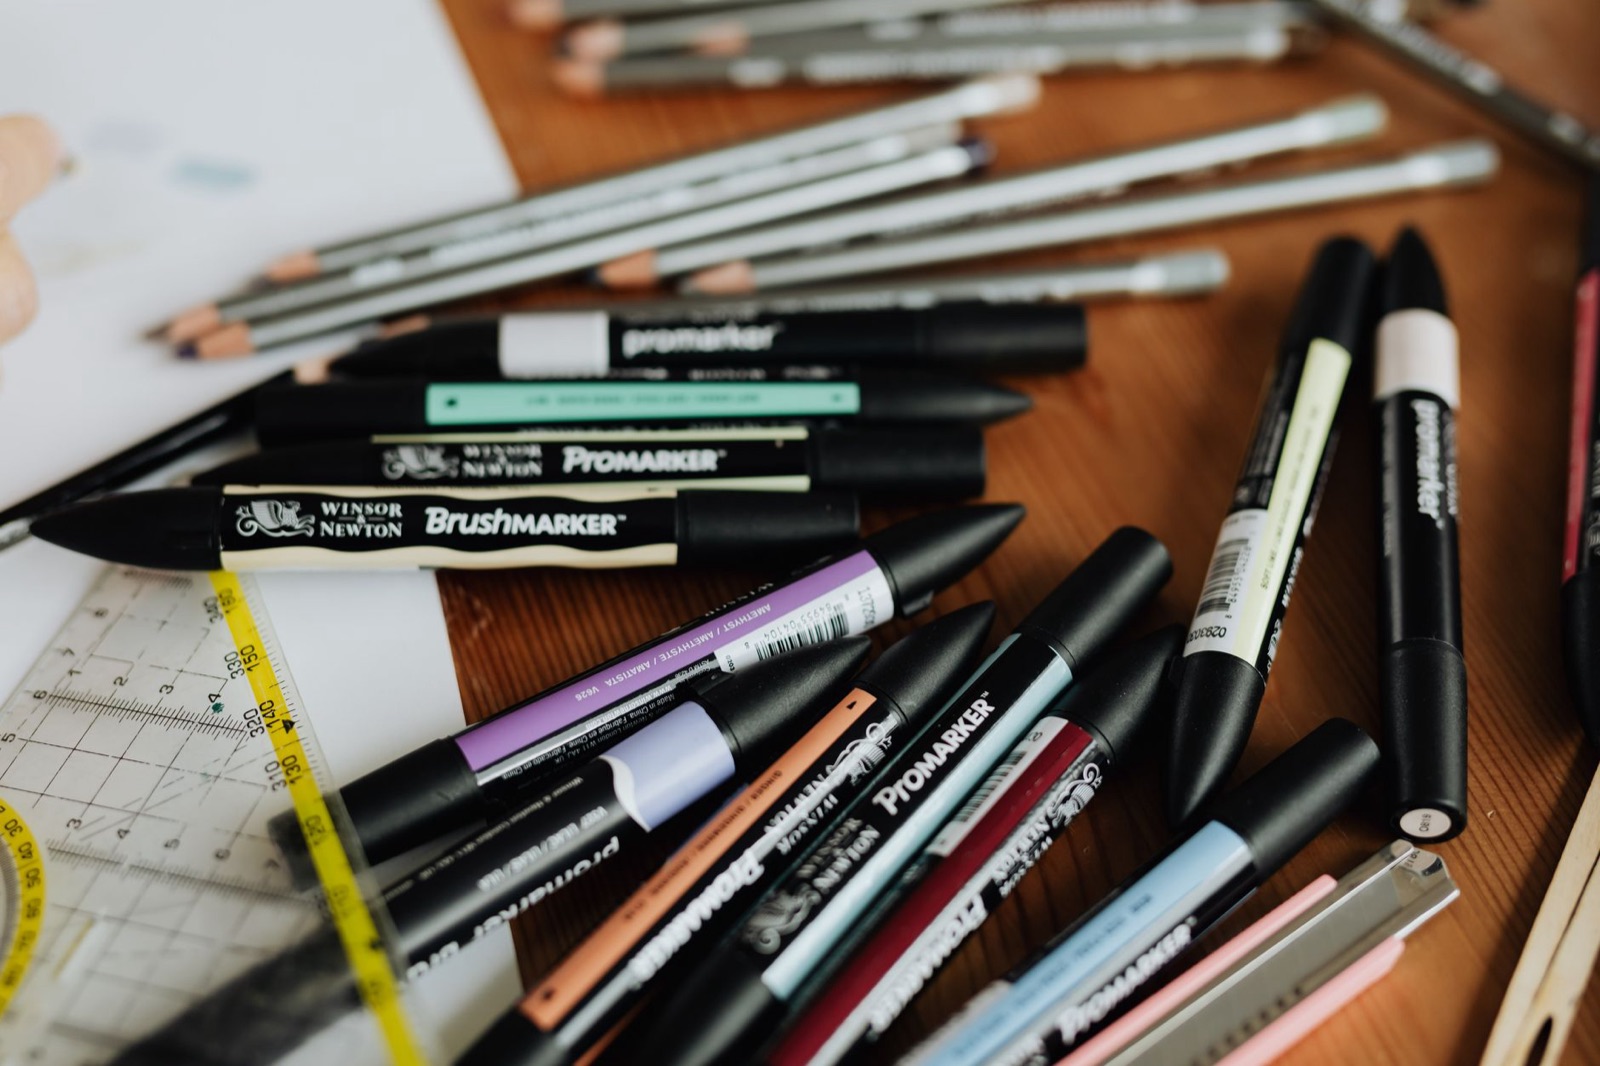
Beyond crayons: drawing materials for kids and what each is good for
Crayons, oil pastels, markers, chalk, watercolour pencils and ordinary pencils, with plain opinions on what each does well, what it does badly and what to buy.
9 min read